
Tie-dye can be a fun and creative craft activity that you can do even with your kids over the weekend.
Tie-dying your shirt is a simple yet creative way to re-use your boring basic tees. Learn to dye your tees by adding some splash of popping colors with the things that are already available in your household.
We’re sure you own a basic white tee that you may have gotten bored of. Now you can change the game and transform it into something new that you would love to wear again.
Tie-dyeing has also become one popular crafty fashion trend that has made its way back into style. Undoubtedly, it’s famous for its versatility of print. There are several easy ways to tie-dye t-shirts that you can do yourself at home without stepping. So, don’t waste money on shopping for new tees and renew your old-fashioned wardrobe by dying your tees with your favorite colors at home. Or enjoy the fun times with your kids by trying it with them.
Here is the four step-by-step basic guide that helps you create your unique tie-dye patterns on your t-shirts. Remember that the dying technique and the steps remain similar for all sorts of fabrics and clothes. You can do it on any fabric, from old white shirts, socks, jeans to all types of home furnishings like cushion covers or dip dye napkins.
The first step is to twist the middle center of the t-shirt or any other fabric into a spiral shape
Continue by squashing the t-shirt into a proper spiral shape and gathering all the fabric into a single big, tight spiral ball.
Use either elastic bands or any other string; make sure to gather the big spiraled t-shirt together into sections – the number of sections is totally up to you; you can add more sections if you’re using more colors.
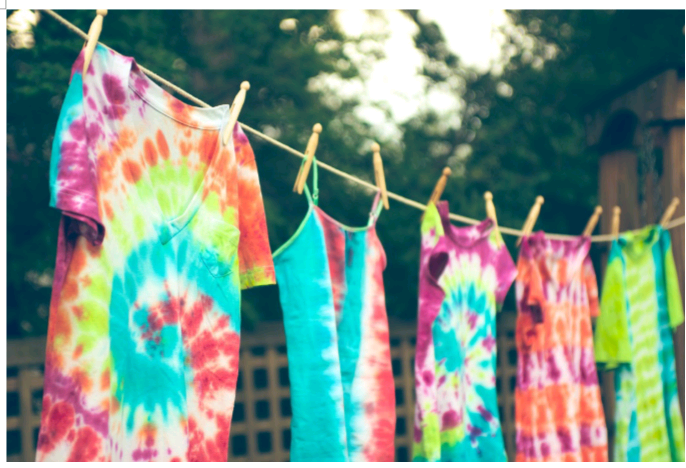
Now place the spiraled t-shirt into a big bowl and start applying your selected dyes – You can use sunflower yellow, pink, paradise blue, passion red, or any other shades of your preference. After this, allow the dye to soak and then rinse it off with cold water.
Yay, your brand-new shirt is ready to wear.